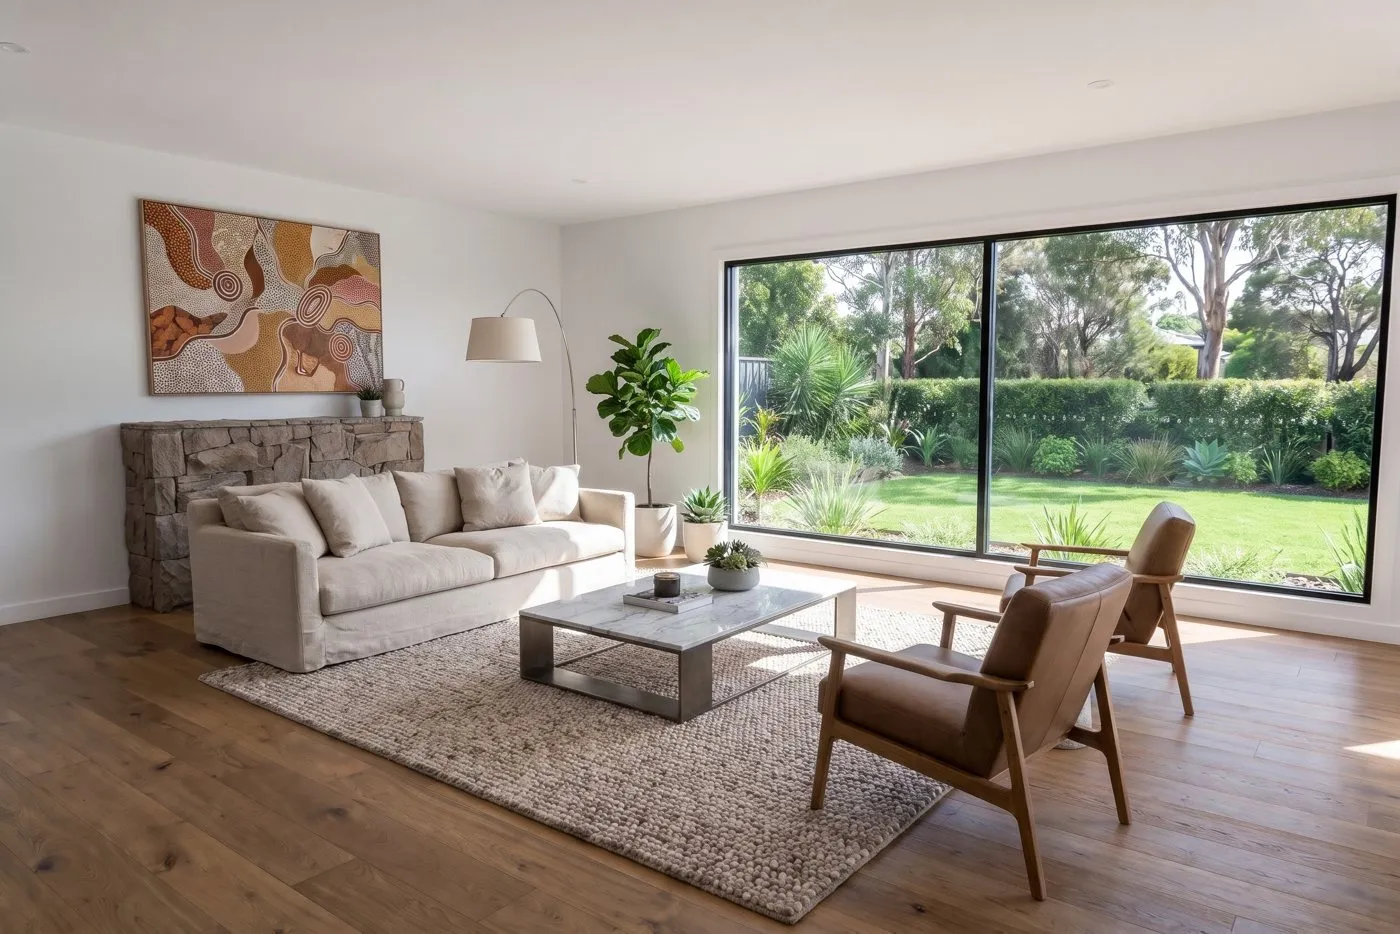
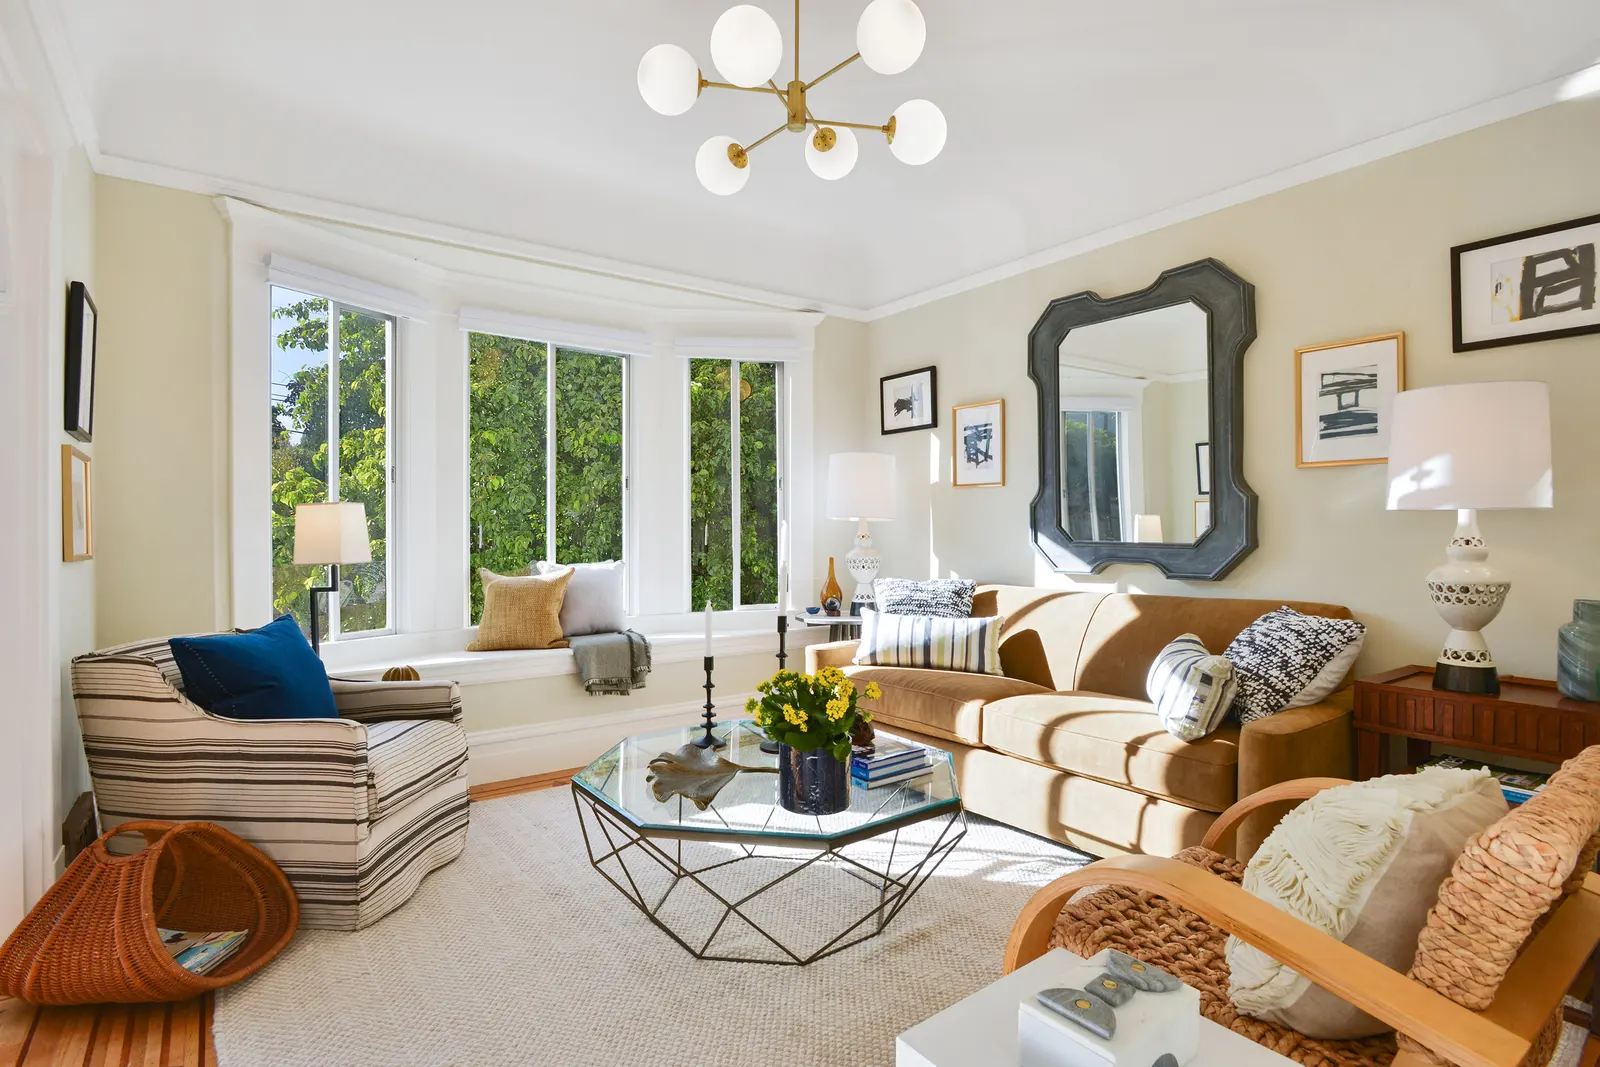
A window pull brings back the view through a window that came out white. Buyers want to see the room and what is outside it: the garden, the light, the street. Done well, the room stays bright and the view looks like it does to the eye. Done badly, the window looks like a poster on the wall. This is how our editors approach it.
Why windows blow out
A camera cannot hold the bright outside and the darker room in one exposure. Expose for the room and the windows turn white; expose for the windows and the room goes dark. A window pull combines the two from your own bracketed exposures, which is also the core of manual blending.
How an editor does a window pull
- Pick the darkest usable frame for the view. It holds the detail and colour of the outside.
- Use the flash frame for the window frame. In flash and flambient shoots, the flash frame gives clean, sharp edges and neutral colour on the frames, sills and mullions.
- Put the darkest frame on top, masked to the glass only. The view shows through the glass; the frames and walls stay from the room exposure.
- Balance the brightness. The view should be slightly brighter than the room, never darker and never blown out.
- Check every pane. The same continuous scene must run across neighbouring panes and windows.
If you are choosing a shooting style, our comparison of HDR vs flambient explains how each one affects windows.
When to keep, cut or leave the view
Not every window deserves the same treatment:
- Nice view (garden, water, trees, open sky): pull it and cut it carefully around every frame and mullion.
- Unattractive view (a wall, a fence, the neighbour's house): don't force it. Heavy blending to show an ugly view only draws attention to it; a soft, natural window is better.
- Small windows: leave them natural. A forced replacement sky in a small window usually looks wrong.
- Large window seen straight on: it should show a sky. If the sky is blown out in every frame, it is replaced, following our sky replacement rules.
What makes a window pull look fake
- the view is darker or more saturated than a person would see;
- glowing halos around frames and mullions;
- outside light from a different direction than the light in the room;
- different scenes in neighbouring panes;
- reflections in the glass that do not match the room.
How to shoot for great windows
- Use a tripod so every bracket lines up exactly.
- Include a dark enough frame: check on the camera that the outside is clearly visible.
- Add a flash frame if you shoot flash or flambient: it gives clean window frames.
- Keep curtains and blinds still between frames.
- Turn interior lights on or off consistently across the brackets.
- Shoot when the outside is attractive if you can; the edit cannot invent a nicer garden.
Send us your windows
Window pulls are part of our Manual Blending and Flambient editing, with a separate QC check on every image. Send 3 bracketed sets for a free test edit and we will show you how your windows can look.