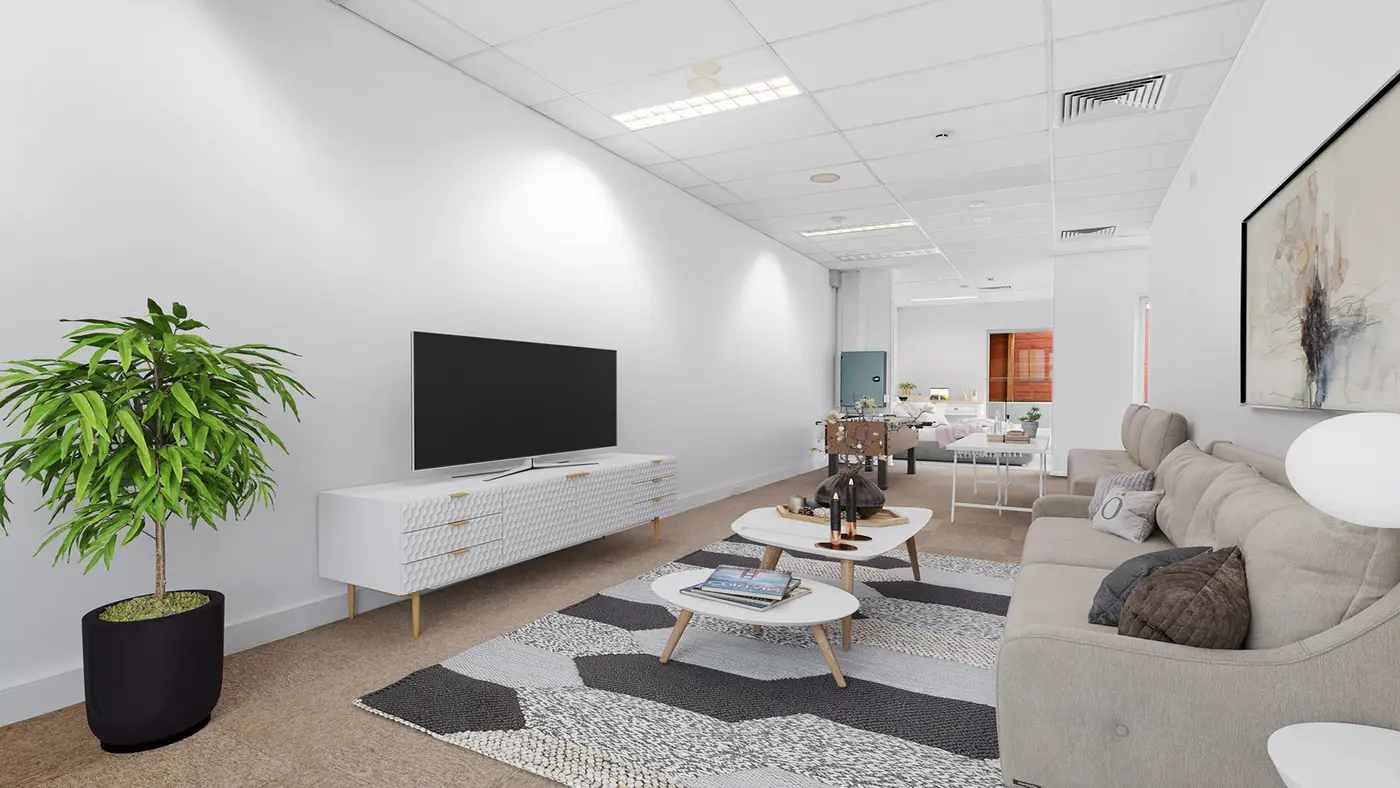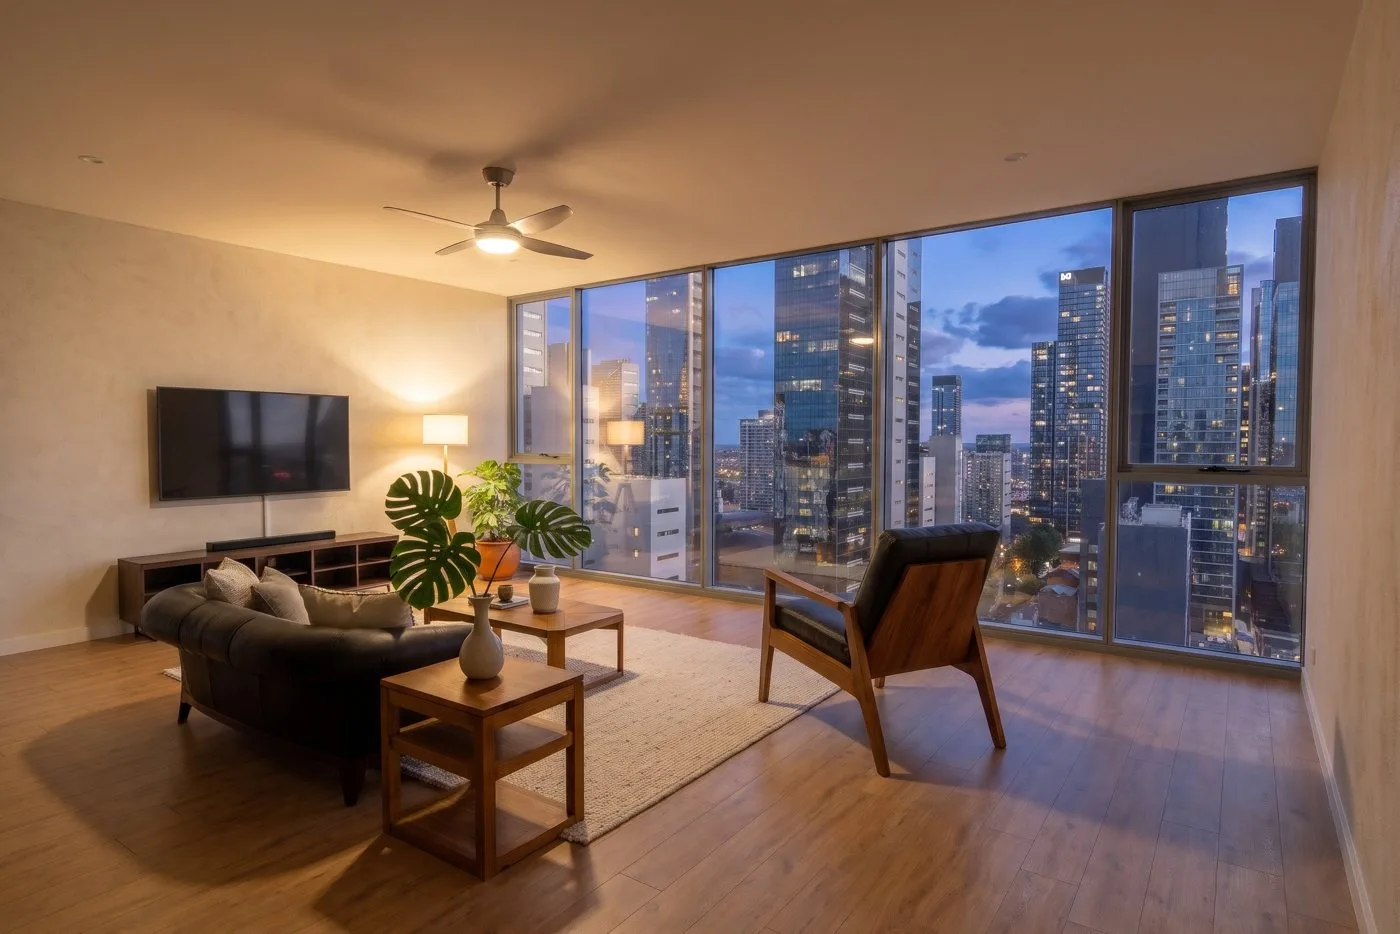
Some homes are good homes with tired surfaces. The layout works, the light is lovely, but the carpet is stained and the walls have not been painted in years. Many buyers scroll past without seeing what the room could be. Virtual renovation shows them.
What virtual renovation is
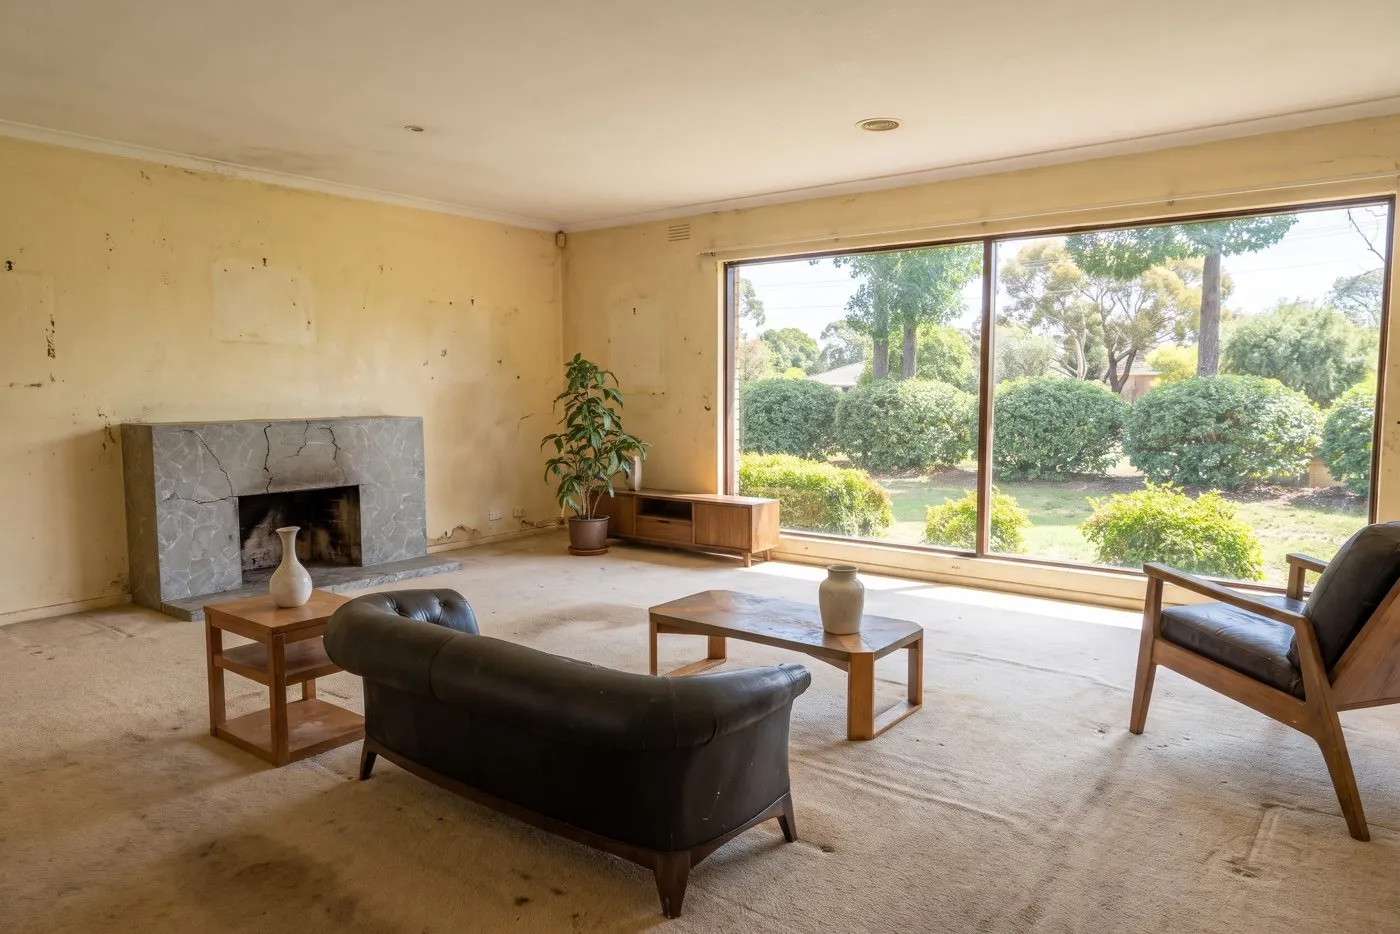
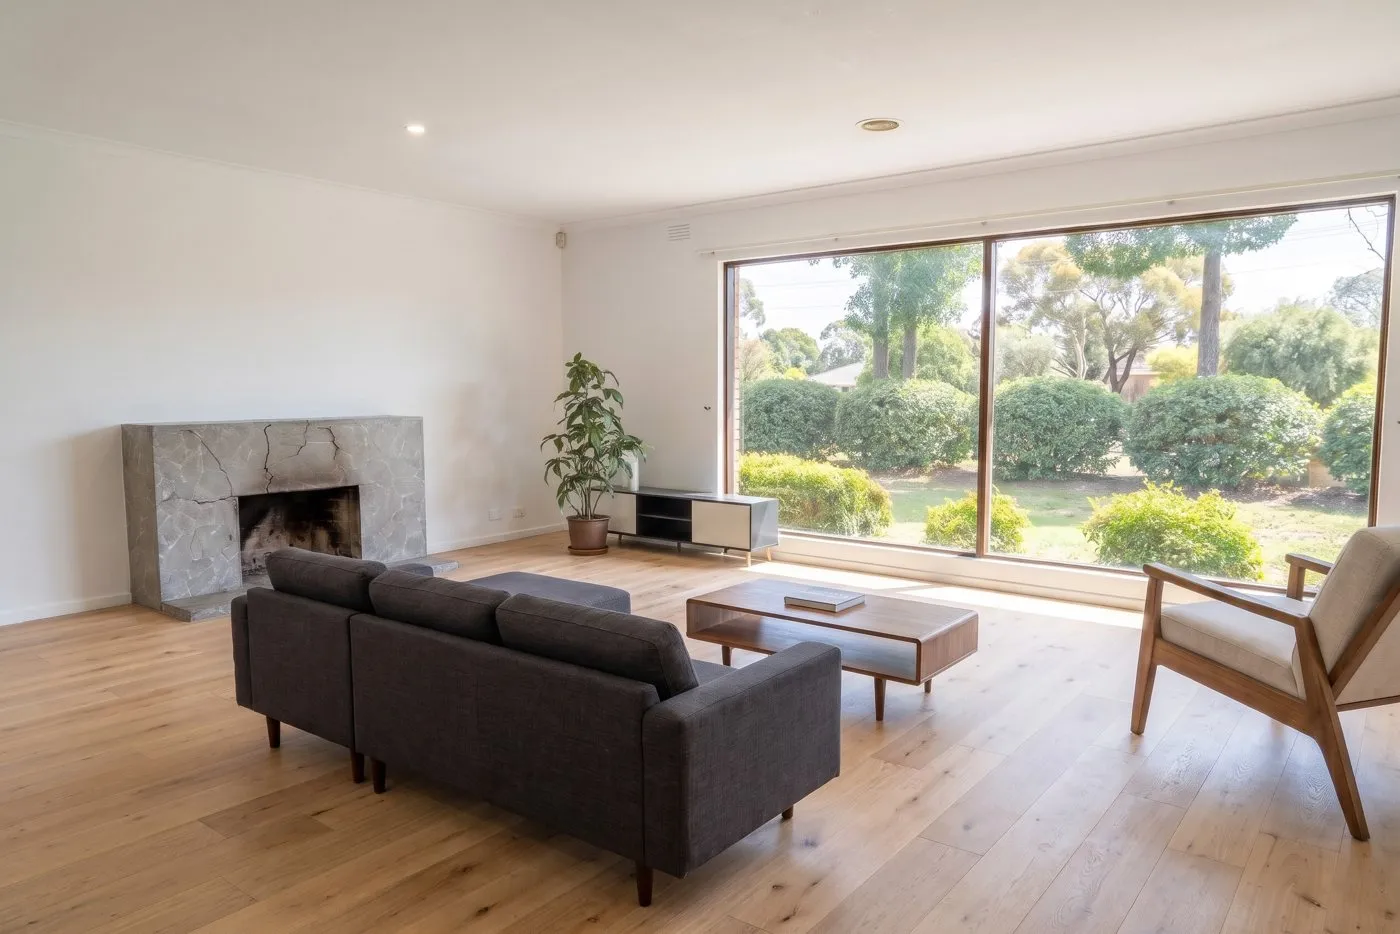
Virtual renovation takes a real photo of a room and shows it after possible updates. Look at the pair above: the walls, the floor and the furniture changed. The room did not. The window, the fireplace, the ceiling height and the view are exactly the same.
That is the key difference from virtual staging. Staging adds furniture to a room. Renovation changes the room's surfaces: walls, floors, cabinets, benchtops, tiles or the outside of the house. The two are often used together.
When it helps a listing
Virtual renovation works best when the bones are good and the finishes are not:
- old or stained carpet that could become timber or tiles;
- dark, marked or dated wall colours;
- a kitchen with old cabinets and benchtops;
- a tired bathroom with dated tiles;
- a faded facade that only needs paint.
It also helps with:
- "Renovator" listings, where the selling point is what the buyer could do;
- buyers who cannot picture it, which is most of them;
- agents pitching to sellers, to show what a small update could do before the photo shoot.
When not to use it
- To hide damage. Cracks, damp and water stains are not finishes. They stay in the real photo, the same as in our item removal rules.
- To change the layout. Moving walls, adding windows or making a room bigger is no longer a preview of a renovation. It is a different house.
- Instead of the real photo. The renovated image always sits next to the original, never in its place.
How to label it honestly
Buyers should never feel tricked when they walk in. Three simple habits keep you safe:
- Show both. Put the real photo first, then the renovated version next to it.
- Label it on the image. Add a short caption such as "Virtually renovated – illustration only".
- Say what changed. In the description, list the changes shown, for example "new flooring and paint shown as an example".
Rules differ between markets and listing platforms, so check what yours requires.
How to shoot a room for virtual renovation
- Shoot it as it is. You need a clean, sharp, well-lit real photo anyway, because it goes in the listing too.
- Show the surfaces you want changed. If the floor is the problem, make sure enough of the floor is in the frame.
- Keep verticals straight. Straight walls and door frames make the new surfaces look natural.
- Clear what you can. The less clutter in the room, the cleaner the new walls and floors look.
- Pick one style per listing. Mixing styles across rooms makes the home feel like a catalogue, not a home.
Try it with Studio AI
Renovation previews are part of Studio AI, our self-serve AI app that is launching soon. Upload a photo, pick a style, compare several looks side by side, and download the result in minutes.
Studio AI can also turn a renovation into a short video for social media, like the clip below made from the same room. Use clips like this to grab attention, and keep the real photo in the listing.
Need the real photos edited first? Our human editing team handles the listing photos, and you can send 3 photos for a free test edit today.