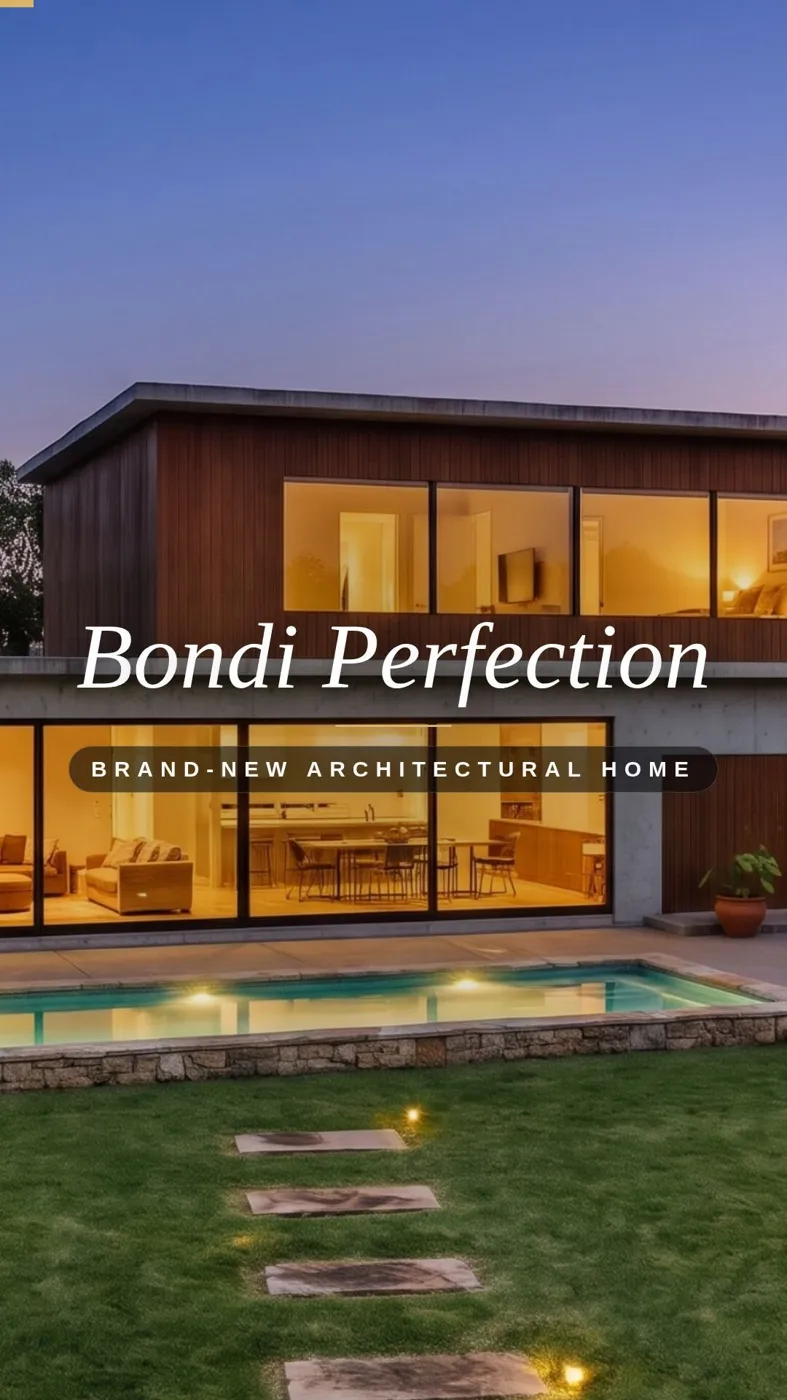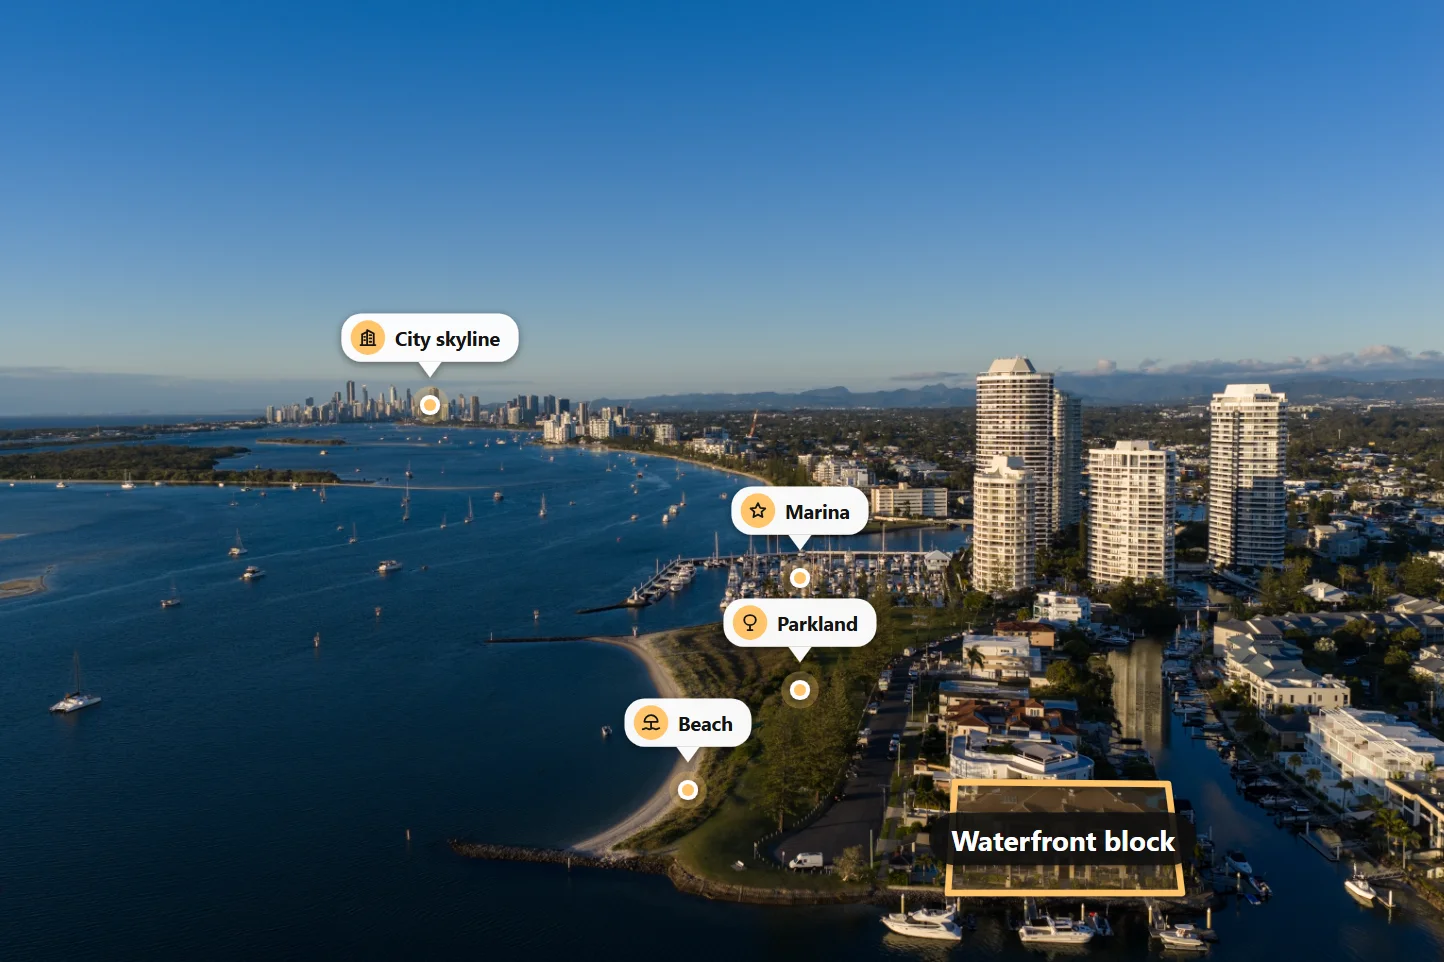
A render is not only a building. It is a story about where and how people will live. Put the same house beside a quiet lake, on a sunny coast or in a leafy street, and it speaks to a completely different buyer. The landscape settings in Studio AI Render let you tell that story in a few clicks, without remodelling anything.
What stays the same, what changes
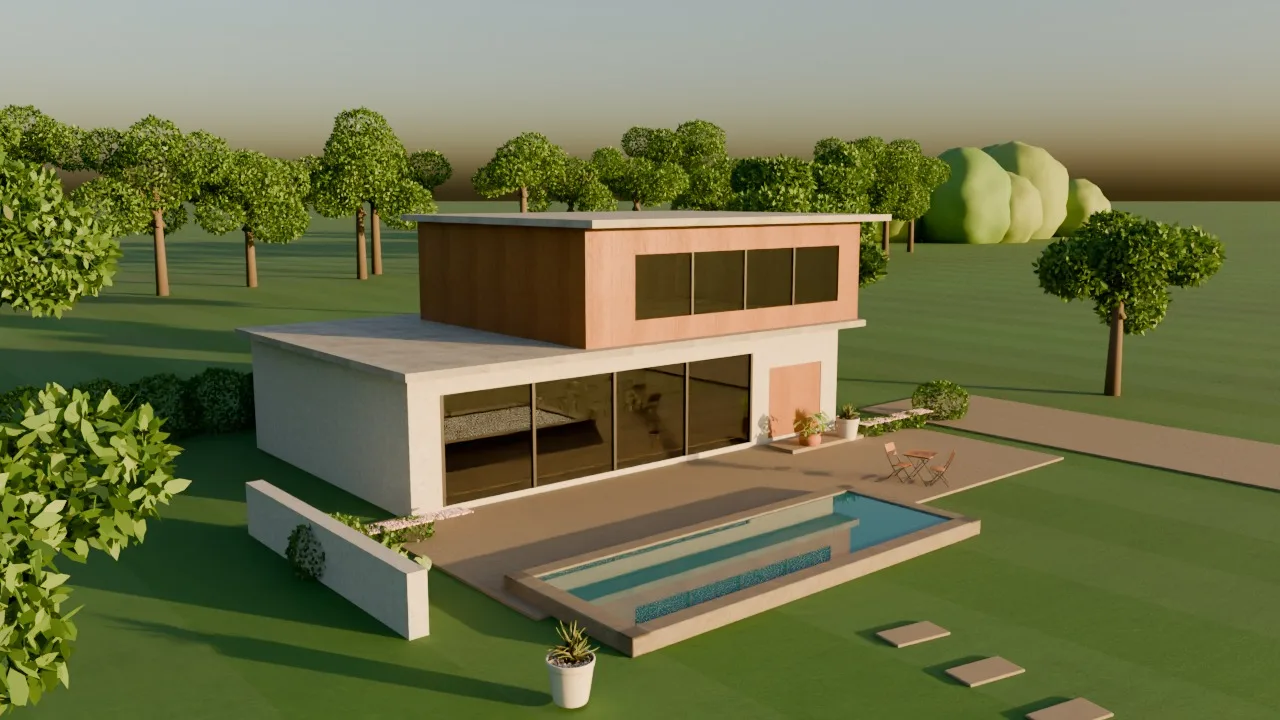
When you change the landscape, your design does not move. Studio AI Render keeps the camera angle, the massing, the number of storeys, columns, windows and glass panels exactly as in your model.
What changes is everything around it:
- the setting around the site;
- the time of day and the light;
- the sky;
- the planting: how much, and which trees;
- the ground on open areas;
- a few people or a car, only if you allow them.
1. Choose the setting
| Setting | What it adds | Best for |
|---|---|---|
| Keep the model's setting | Makes the street, footpath, ground, trees and neighbours in your model look real, and adds a natural sky | Real sites, planning and sales images |
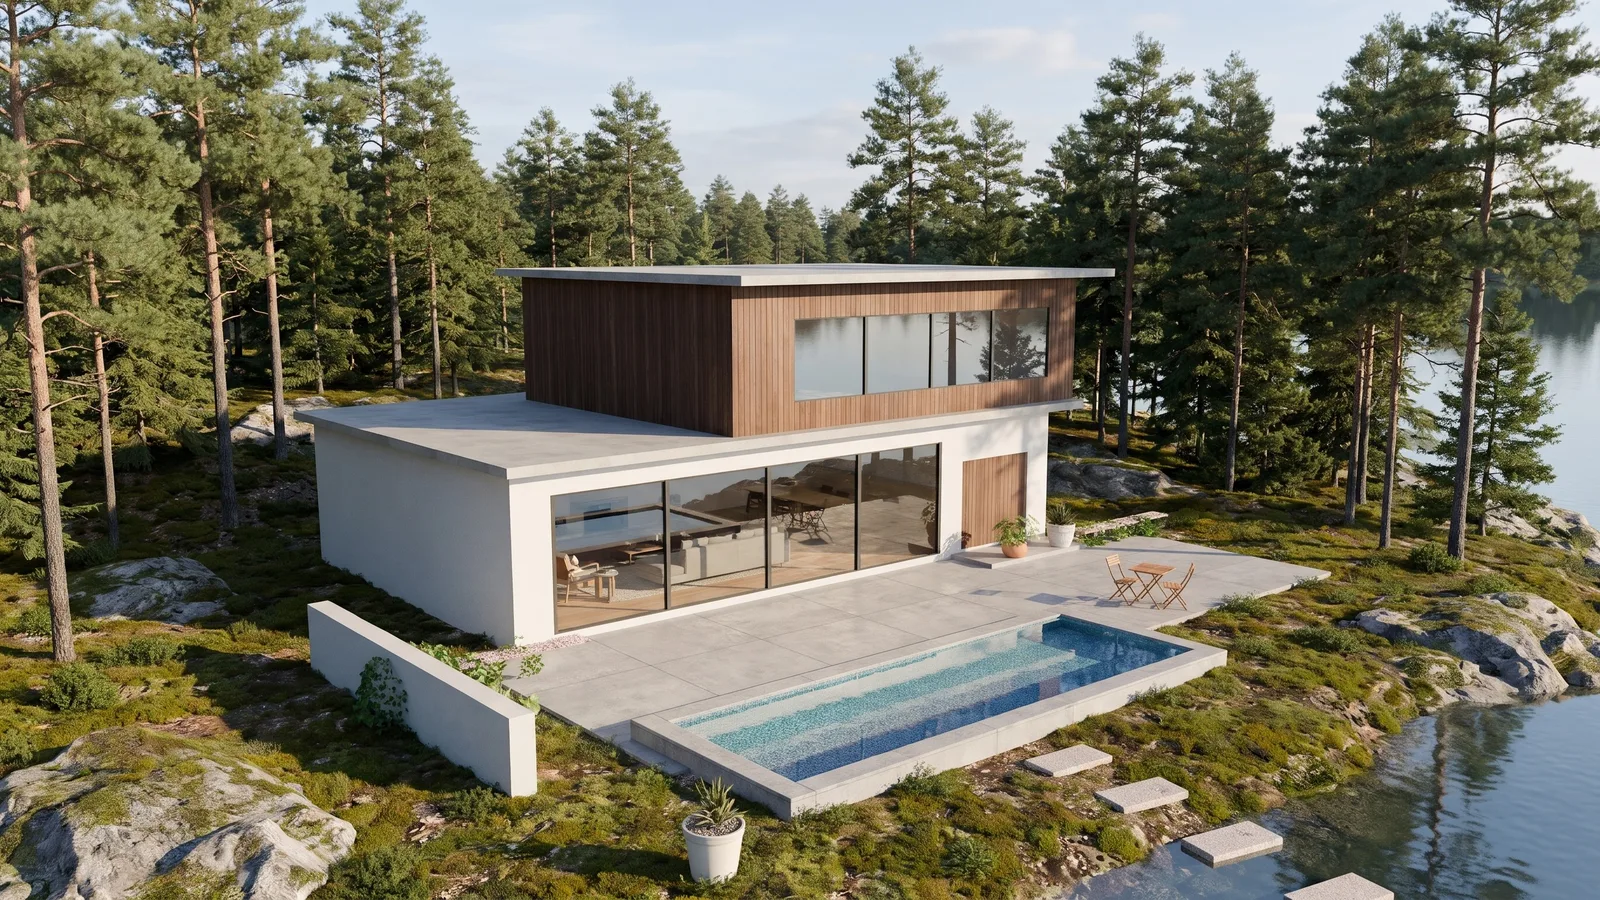
| Pine forest by a lake | Tall pines, mossy ground, granite rock and calm water with soft reflections | Cabins, retreats, Nordic-style homes |
| City | Calm, softly blurred neighbouring buildings, clean pavement, street trees | Apartments, townhouses, offices |
| Leafy suburb | Neat lawn and garden, mature trees, other houses far away | Family homes |
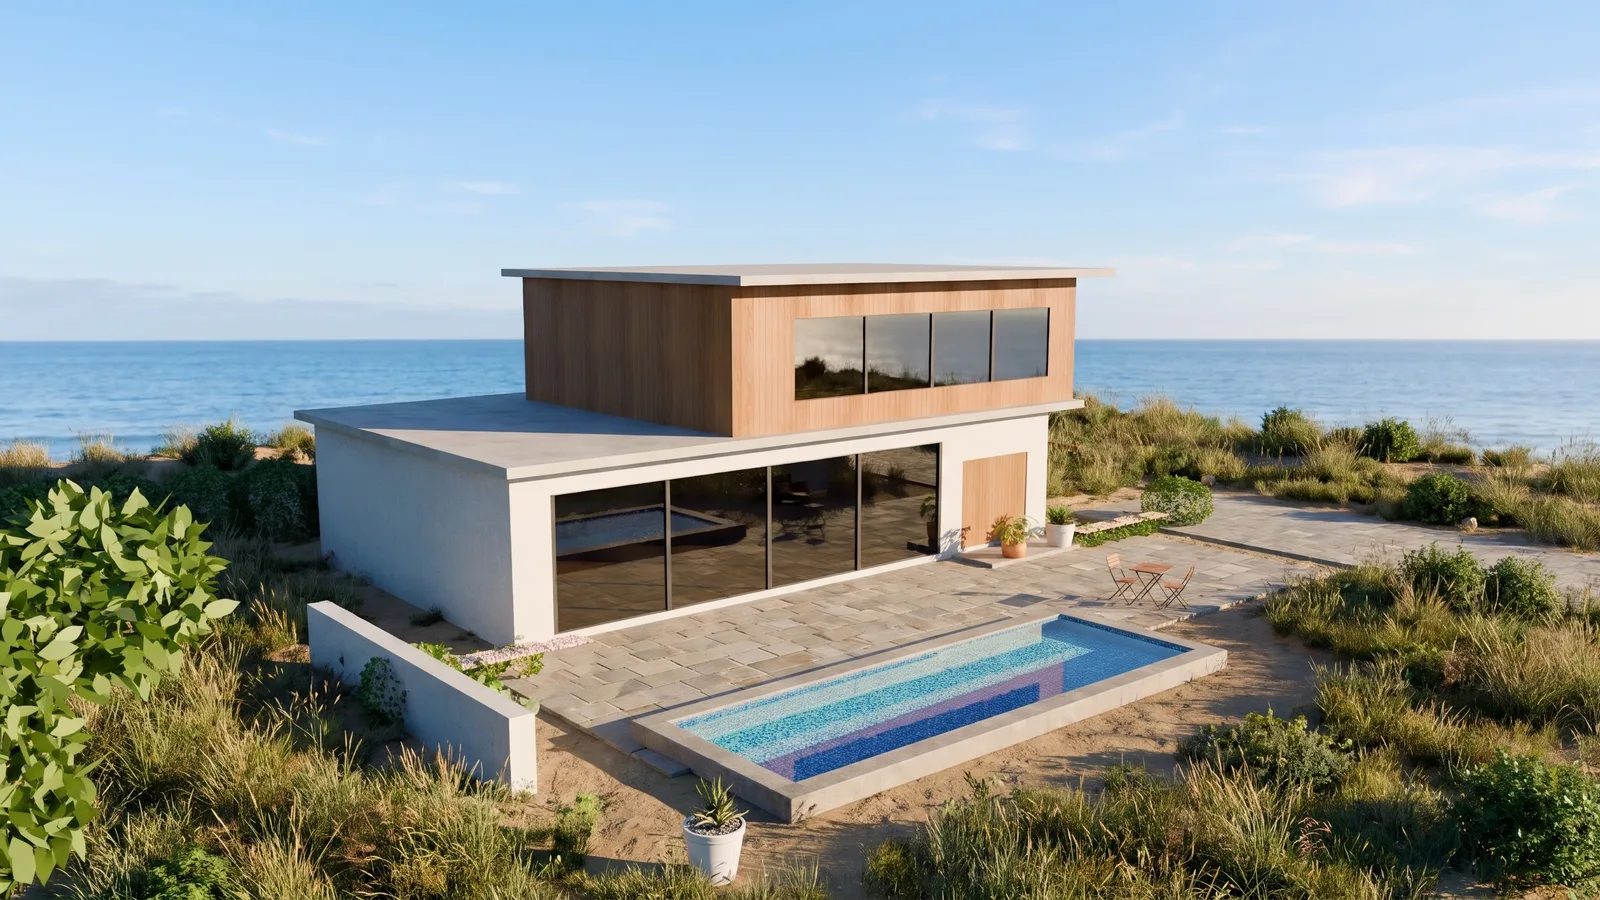
| Coast | Ocean and horizon, coastal grasses and low shrubs | Beach houses, holiday homes |
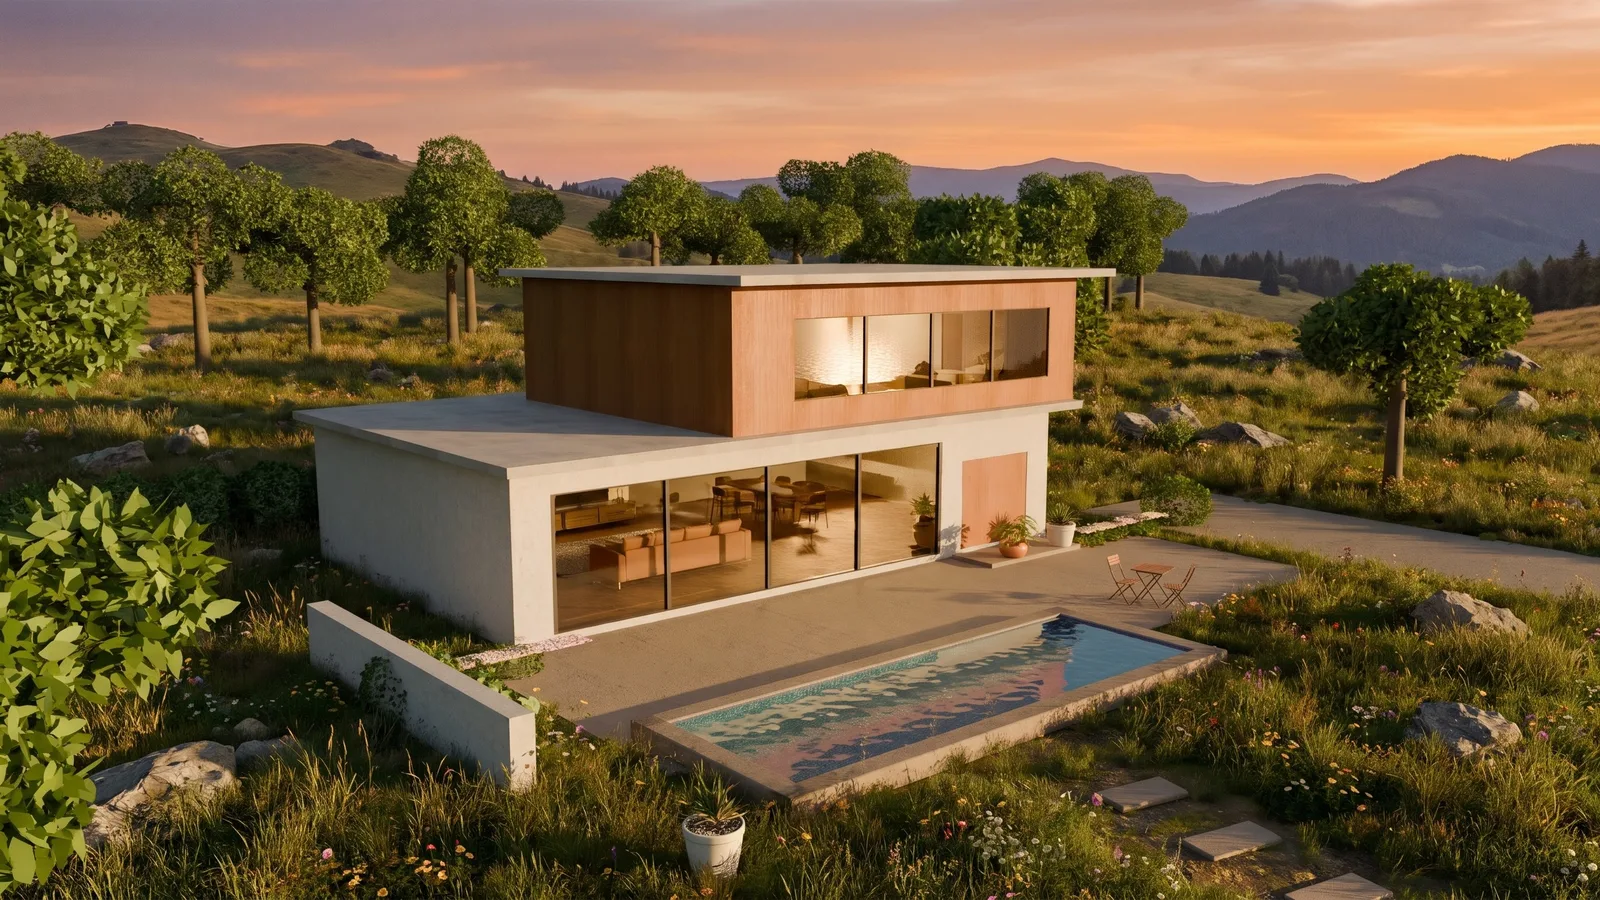
| Mountain | Rolling hills, distant mountains, meadow and rock | Hillside homes, resorts |
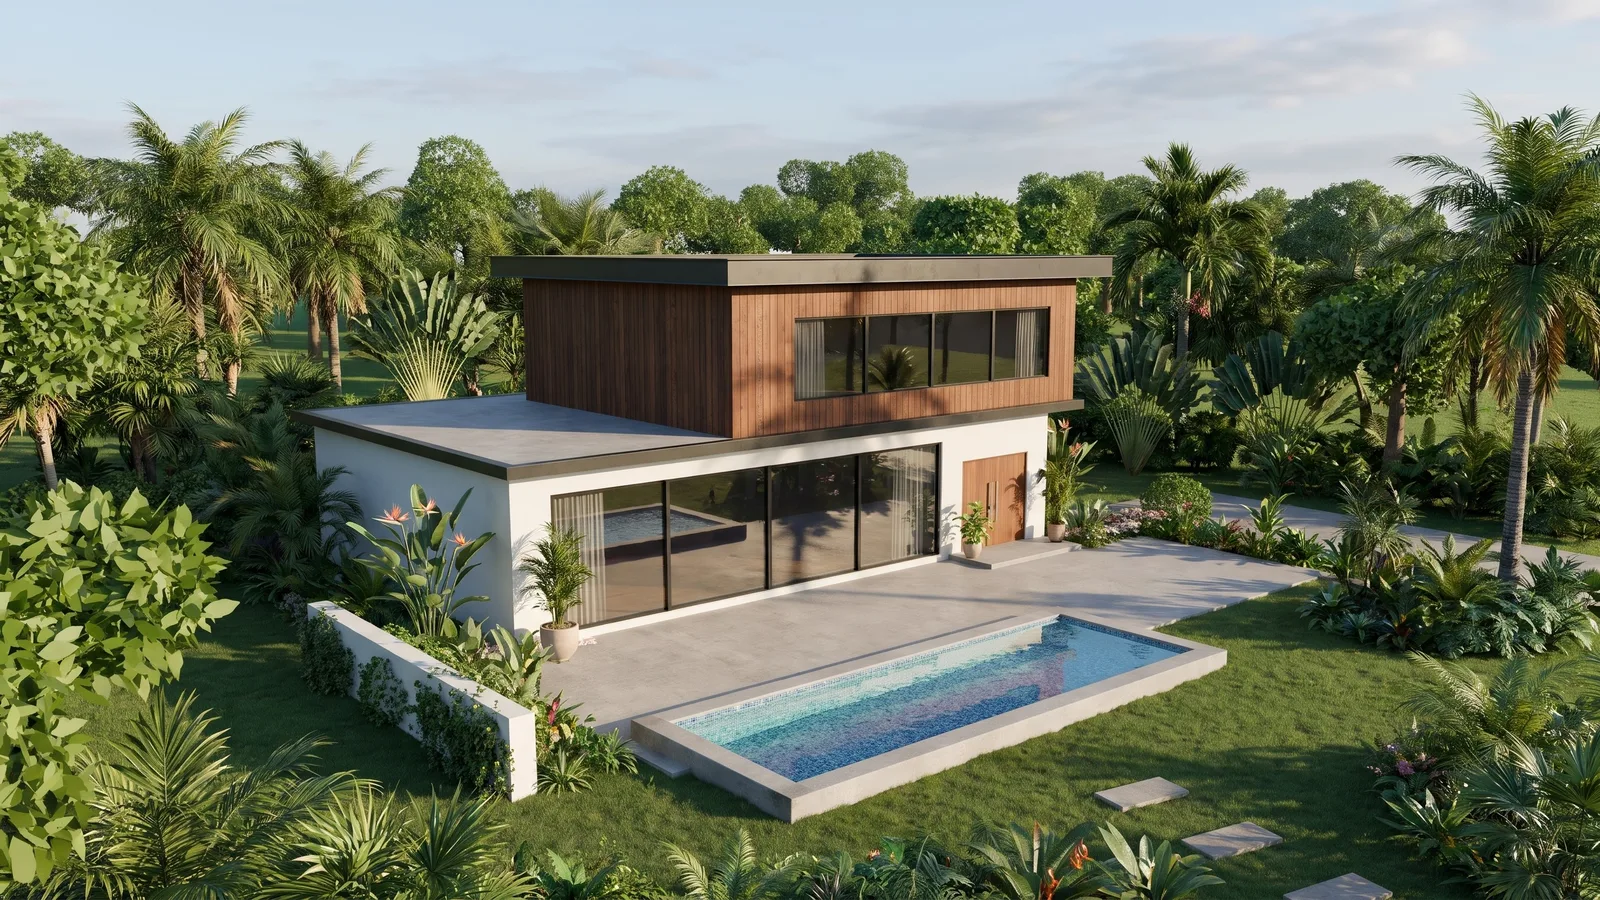
| Tropical | Palms and lush tropical plants, warm air | Villas, resorts in warm climates |
Trees and plants are always placed around the building, never in front of the glass, doors or columns, so your design stays visible.
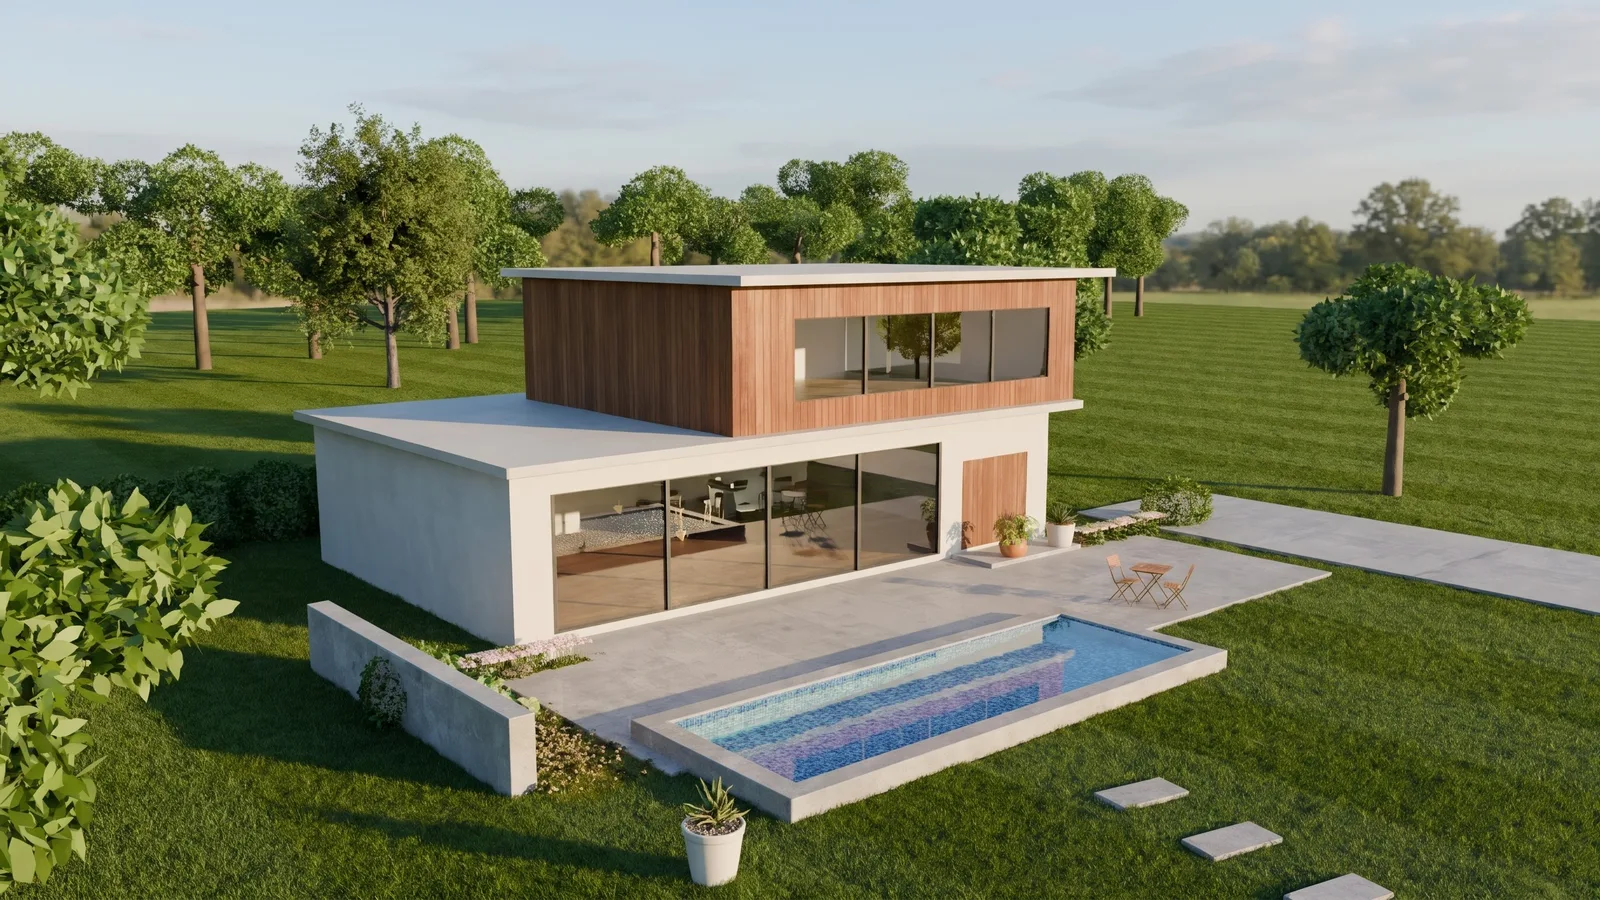
Here is the same model in four different settings. The building, the pool, the terrace and the camera stay the same; only the world around them changes.
2. Choose the time of day
- Sunny day: clear late-morning light and crisp shadows. The clearest way to show form and materials.
- Late-afternoon sun: warm, low light with long soft shadows and the interior lights softly on. Warm and inviting.
- Dusk: deep blue sky, a warm glow on the horizon and the interior glowing through the glass. The most emotional image, often the hero shot.
- Night: dark sky and warmly lit interior. Dramatic, best for buildings with a lot of glass.
- Soft overcast: even, gentle light and a calm mood. Good for showing materials without harsh shadows.
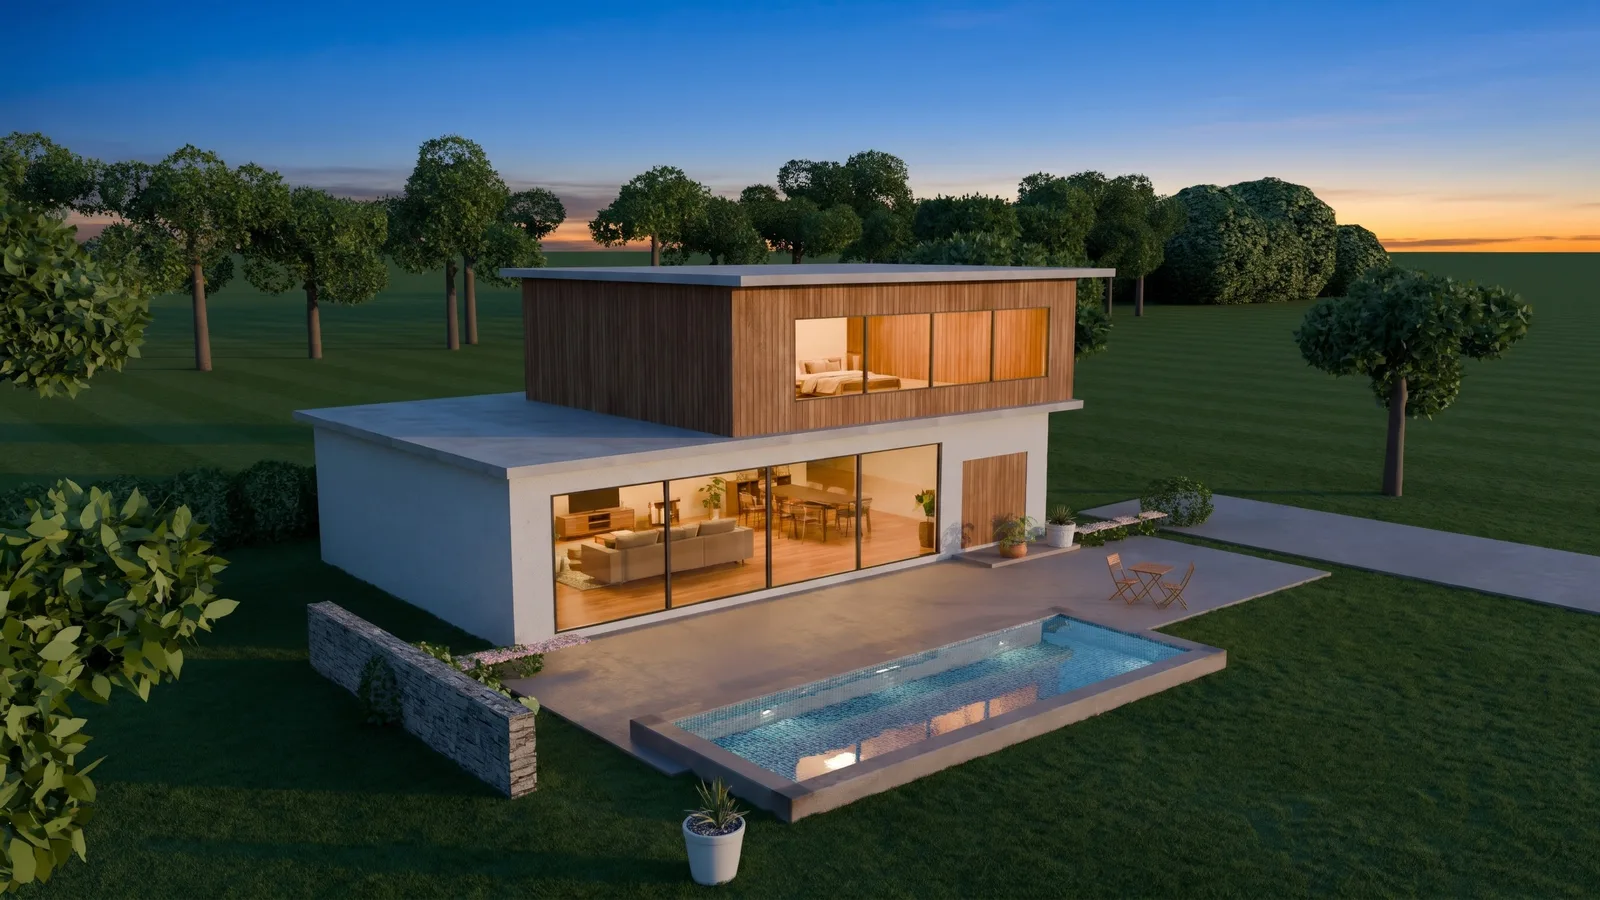
Look closely at the dusk image: the low wall beside the terrace came back as stone instead of smooth render. AI can still change a small material on its own, which is why you should always check the result against your model, and choose the material in the library when it matters.
3. Fine-tune the landscape
Open the Landscape tab in the material library for more control:
- Planting: natural, minimal (mostly open ground) or lush;
- Tree type: pines, broadleaf trees, birches, palms, olives or slim Mediterranean cypresses;
- Ground: lawn, meadow with wildflowers, pale gravel or natural rock and moss;
- Sky: clear, a few white clouds, overcast or dramatic clouds;
- People and cars: none by default; you can allow two or three small people far away, or one car on an existing driveway.
How to choose the right landscape
- Real site? Keep the model surroundings. Buyers and councils need to see the real context. A fantasy lake next to a city lot is misleading.
- Match the climate. Palms in a cold climate or pines in the tropics look wrong to anyone who knows the area.
- Match the architecture. A timber cabin belongs in a forest; a white villa belongs on the coast or in a tropical garden.
- Pick one light for a set. If you make several views of one project, use the same time of day and sky for all of them.
- Make two versions for the client. A clear day image to explain the design, and a dusk image to sell the feeling.
Tips for the best result
- Use the Pro tier at 2K or larger for client images.
- Model the important ground areas. Driveways, paths and decks you model are kept; open ground is where the landscape is added.
- Check the result against your model before sending it, especially small details such as railings and window bars.
- Combine with materials. Choose roof, wall, frame and paving materials in the same library, and the render uses real material samples.
Read more about how AI rendering works and when it is the right tool in AI architectural rendering without a powerful computer.
Try it on your own model
Upload a screenshot of your SketchUp or 3D model to Studio AI Render, try two or three settings, and see which story fits your project best. New accounts get free credits to try it.