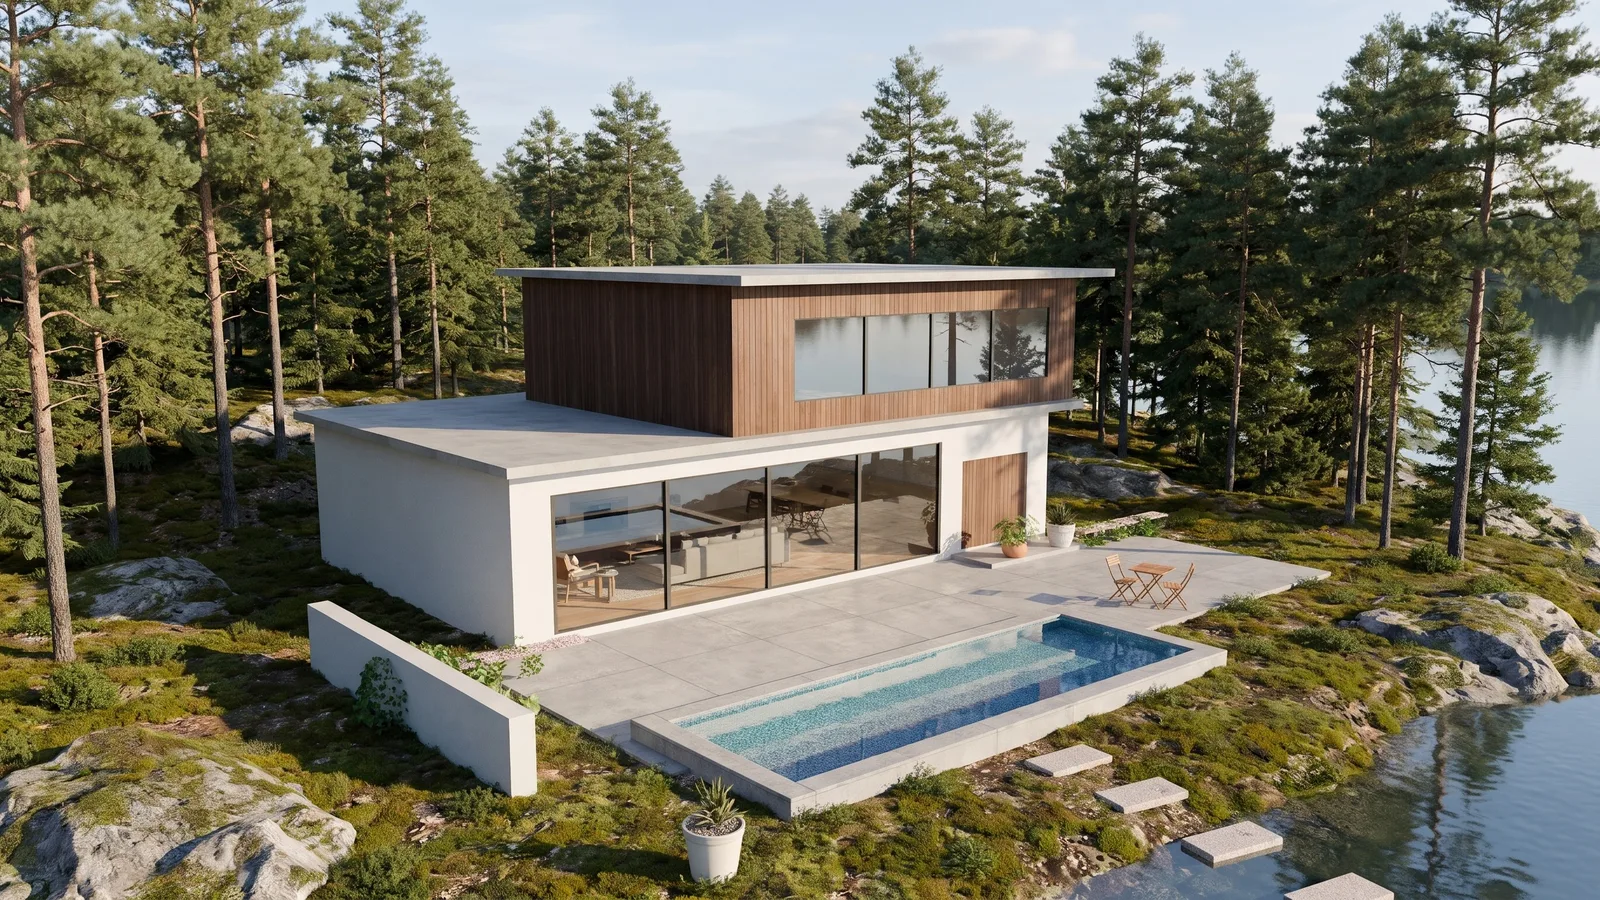

Now available. AI Architectural Render is live in Studio AI. This article explains what it does and when it is the right tool.
A beautiful render used to need two things most small studios, students and property marketers do not have: hours of a visualiser's time and a computer powerful enough to calculate light. AI rendering removes the second one completely. You upload a screenshot of your 3D model, choose the setting, the time of day and the materials, and a photorealistic image comes back in about a minute. All of it runs in your browser.
How a traditional render is made
A classic render from a SketchUp model usually goes through six steps:
- Export the model to a render engine such as V-Ray, Enscape, Lumion, D5 or Twinmotion.
- Assign a material to every surface: timber, stone, glass, metal, with the right gloss, roughness and texture scale.
- Set up the light: the sun for the chosen hour, the sky, the interior lights.
- Place trees, grass, rocks, water, people and cars from a 3D asset library, one by one.
- Render: the computer calculates every ray of light. This is where a high-end graphics card matters, and one image can take from minutes to hours.
- Post-produce in Photoshop: colour, sky and final details.
The result is precise and fully controllable, but it needs skill, software licences and serious hardware. For a quick concept image it is often more than the job needs.
What changes with AI rendering
- No powerful computer. The heavy work happens on the cloud. A normal laptop, a tablet or the office PC is enough.
- No software to install. It runs in a web browser.
- One screenshot is the input. A white clay model without any materials works.
- Choose instead of build. Pick the setting (pine forest by a lake, city street, leafy suburb, coast, mountains, tropical), the time of day (sunny day, golden hour, dusk, night) and a material scheme from a ready-made library.
- Many options in minutes. Try five settings or three material schemes for the same view and compare them side by side.
Side by side
| Traditional render | AI Architectural Render | |
|---|---|---|
| Hardware | A powerful computer with a high-end graphics card | Any device with a browser |
| Input | A prepared 3D model, usually with materials | One screenshot of the model |
| Time per image | Minutes to hours of rendering, plus setup | About a minute |
| Skills | A trained visualiser | Choose options and click |
| Trying new options | Re-set and re-render | One click per option |
| Geometry accuracy | Exact | Very close; check small details |
| Same project from many angles | Fully consistent | Each image is rendered on its own |
| Exact product materials | Yes | "Looks like" the chosen style |
When AI rendering is the right tool
- Concept stage. Show a client "your house in a pine forest at dusk" during the first meeting.
- Comparing options. Settings, light and materials, quickly and side by side.
- Unfinished models. Massing and clay models become presentable images.
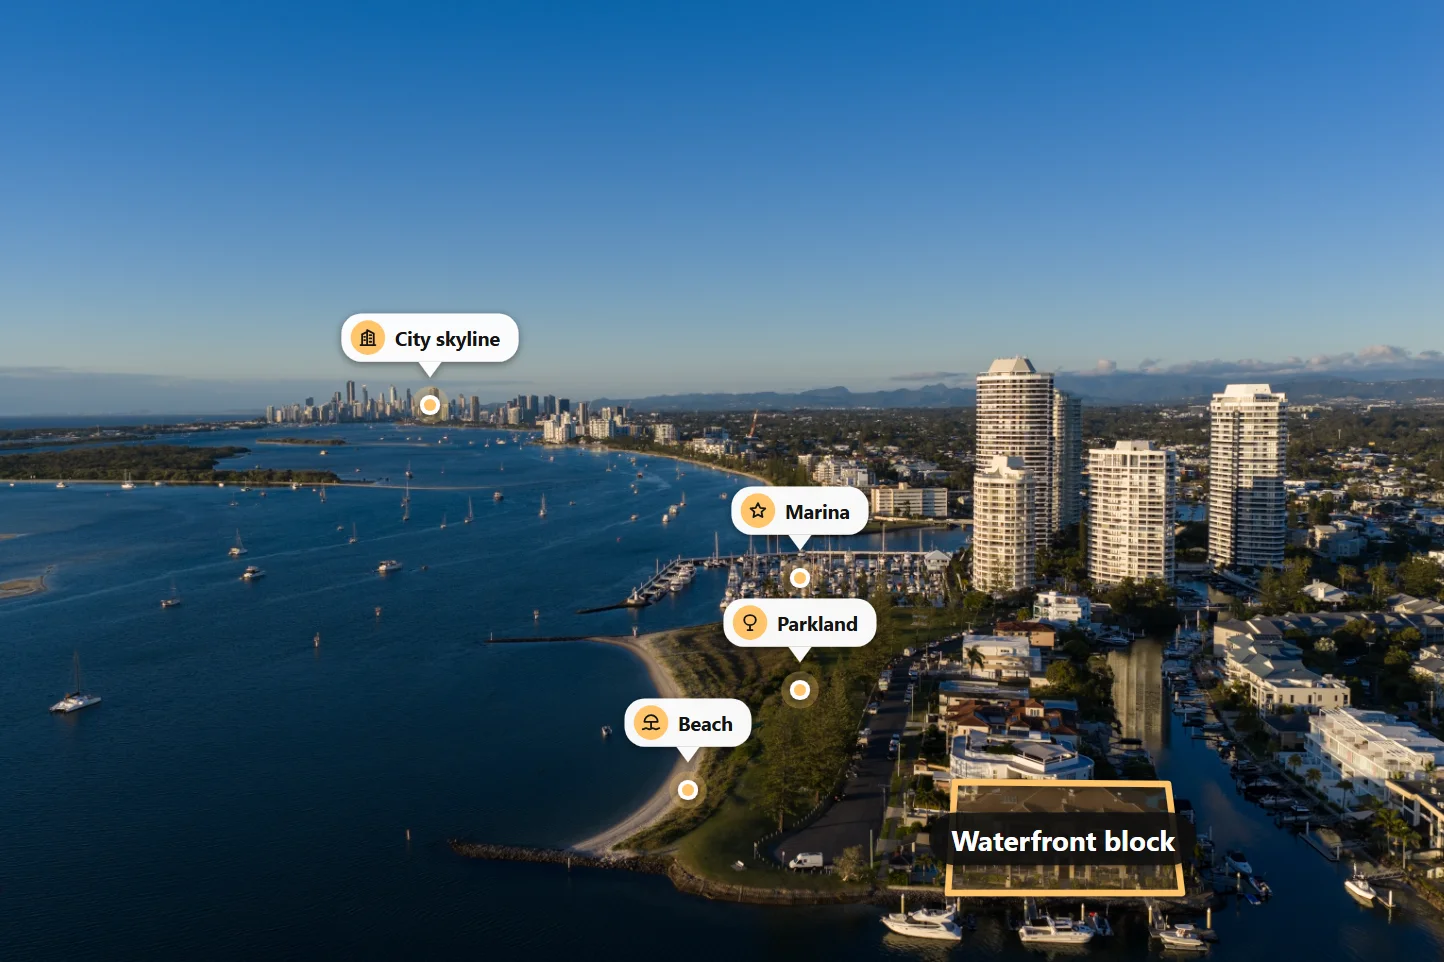
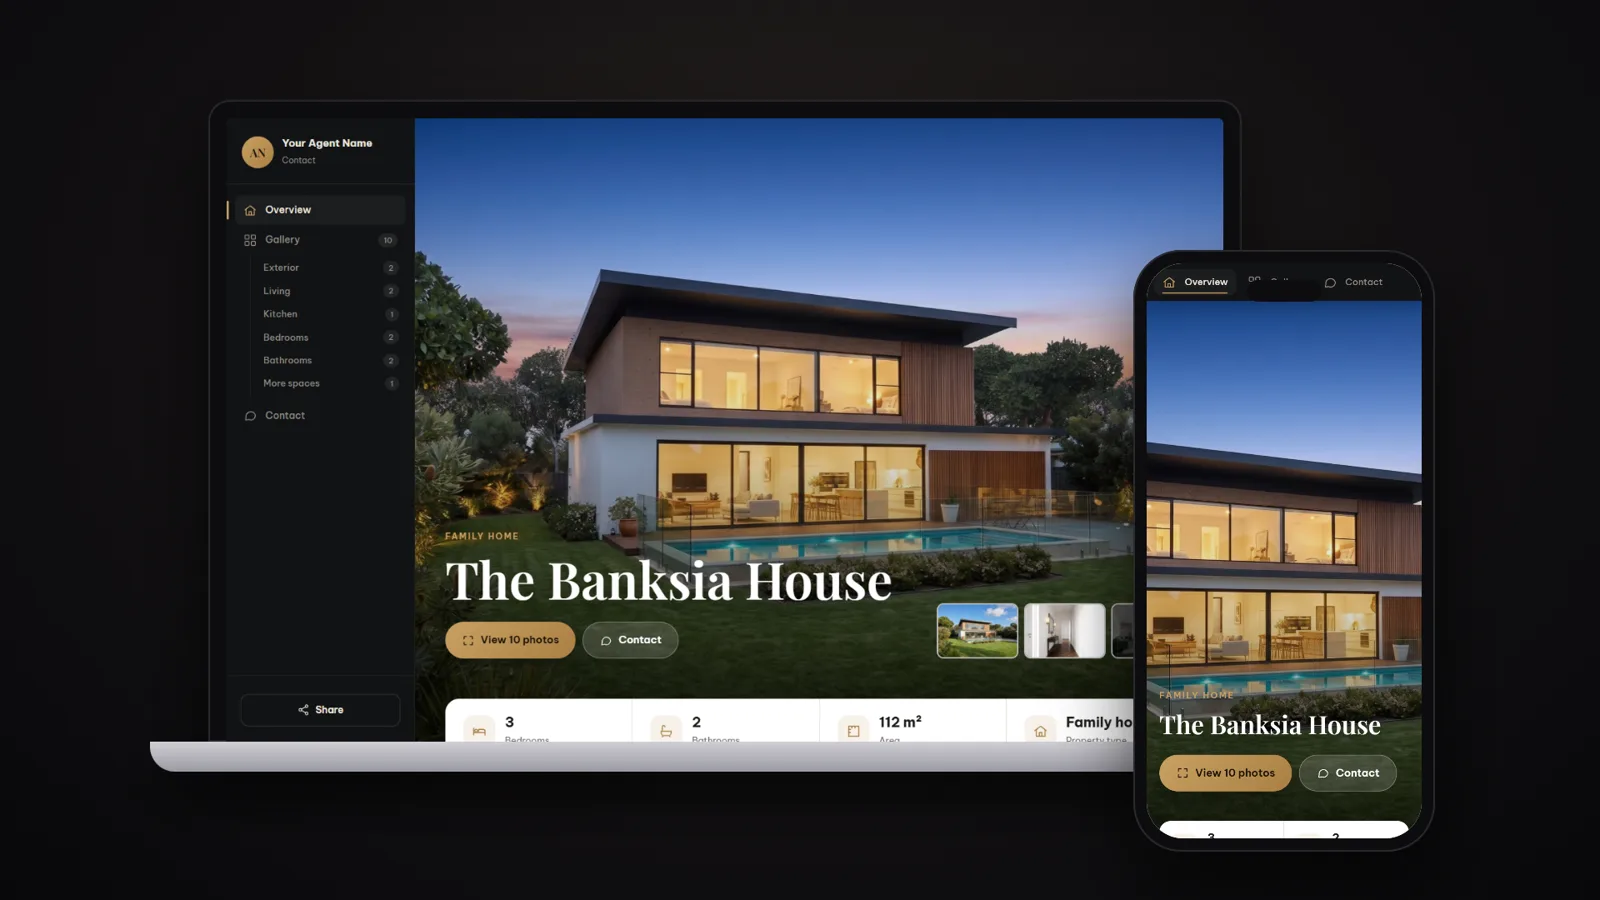
- Pre-sales and listings. Agents and small developers who need an attractive image of a project that is not built yet.
When you need the final, signed-off image, exact branded materials, a consistent set of many views or an animation, use a traditional render.
How the AI keeps your design
AI Architectural Render is instructed to treat your model like a construction drawing:
- the camera stays exactly where you set it: same angle, framing and lens;
- the architecture is locked: storeys, columns, windows, glass panels and their divisions, doors, railings, roof and slab edges keep their number, position and size;
- nothing is added that the model does not show: no extra windows, balconies, awnings or solar panels;
- trees from the model become real trees in the same place, and new planting never covers the glazing, doors or columns.
AI can still drift on small details, so check the result against your model, for example by counting the columns and glass panels, before you send it to a client.
Tips for the best result
- Export a clean view. Hide axes, guides, section planes and the SketchUp person.
- Set the camera first. The AI keeps your exact angle, so choose it in the model.
- Use a large image, 2K or bigger, and the Pro quality level for the final image.
- Keep simple colours in the model so the AI can tell the roof, walls and frames apart.
- Try several settings, then keep the best one.
Try it now
AI Architectural Render is available now in Studio AI, and new accounts get free credits to try it. To see how the setting, light and planting change a render, read our guide to AI render landscape settings. Need professional editing for your photos today? Send them for a free test edit with our human team.